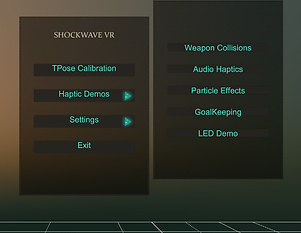
Setup : Using the Shockwave VR Application
Follow the instructions outlined here to perform the setup to get your suit calibrated and working in your favorite games.
Video Instructions
01
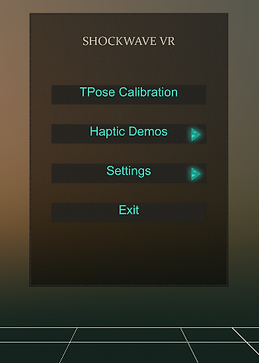
Shockwave Application
The shockwave application is used to calibrate your suit, demonstrate the haptics and install the SteamVR Driver. The application has to be used inside your VR Headset .
The suit automatically connects to the application and does not require any manual pairing/connection.
02
TPose Calibration
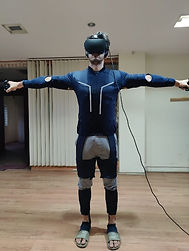
The T-Pose calibration scene is the first step in the setup and is meant to align your IMU sensors correctly with your body.
If your suit is connected you should be able to see your body track in the application albeit incorrectly.
In order to get your accurate body height it is recommended to calibrate your floor. You can do so by opening the floor calibration panel, putting one of the controllers on the floor and hitting the calibrate button .
Perform the T-Pose with your body as shown in the image and press Trigger on both your controllers to get the avatar tracking correctly.
The height panel will now show up and you can use it to save your height . It is recommended to use the value presented by the application if you calibrated your floor correctly before.
If you are experiencing drifting issues/bones rotating incorrectly or want to fine tune the calibration read more below
Learn how to TPose correctly
Having Drifting Issues/Incorrect Rotations
03
Install SteamVR Driver
To use the body tracking feature of the suit in games and applications which utilize SteamVR trackers you need to install the shockwave SteamVR driver from the settings menu in the application entry page. The driver will automatically use the sensor alignment preformed in the T-Pose calibration earlier.
You may need to edit the steamvr.vrsettings file in the config folder in steam to enable multiple drivers. If not already present the following line has to be added in the SteamVR section of the file.
Restarting SteamVR Driver after closing the application would make the shockwave sensors appear as 10 Hardware Trackers.
Can't see the trackers
04
Assigning Roles
Once your shockwave Trackers show up correctly in your SteamVR dashboard it's time to assign them their respective roles.
This can be done in the Manage Vive Trackers window in the SteamVR settings. The roles can be assigned based on the device names.
The suit is now ready to be used in applications.
You can view the individual trackers in the SteamVR menu application as well.
05
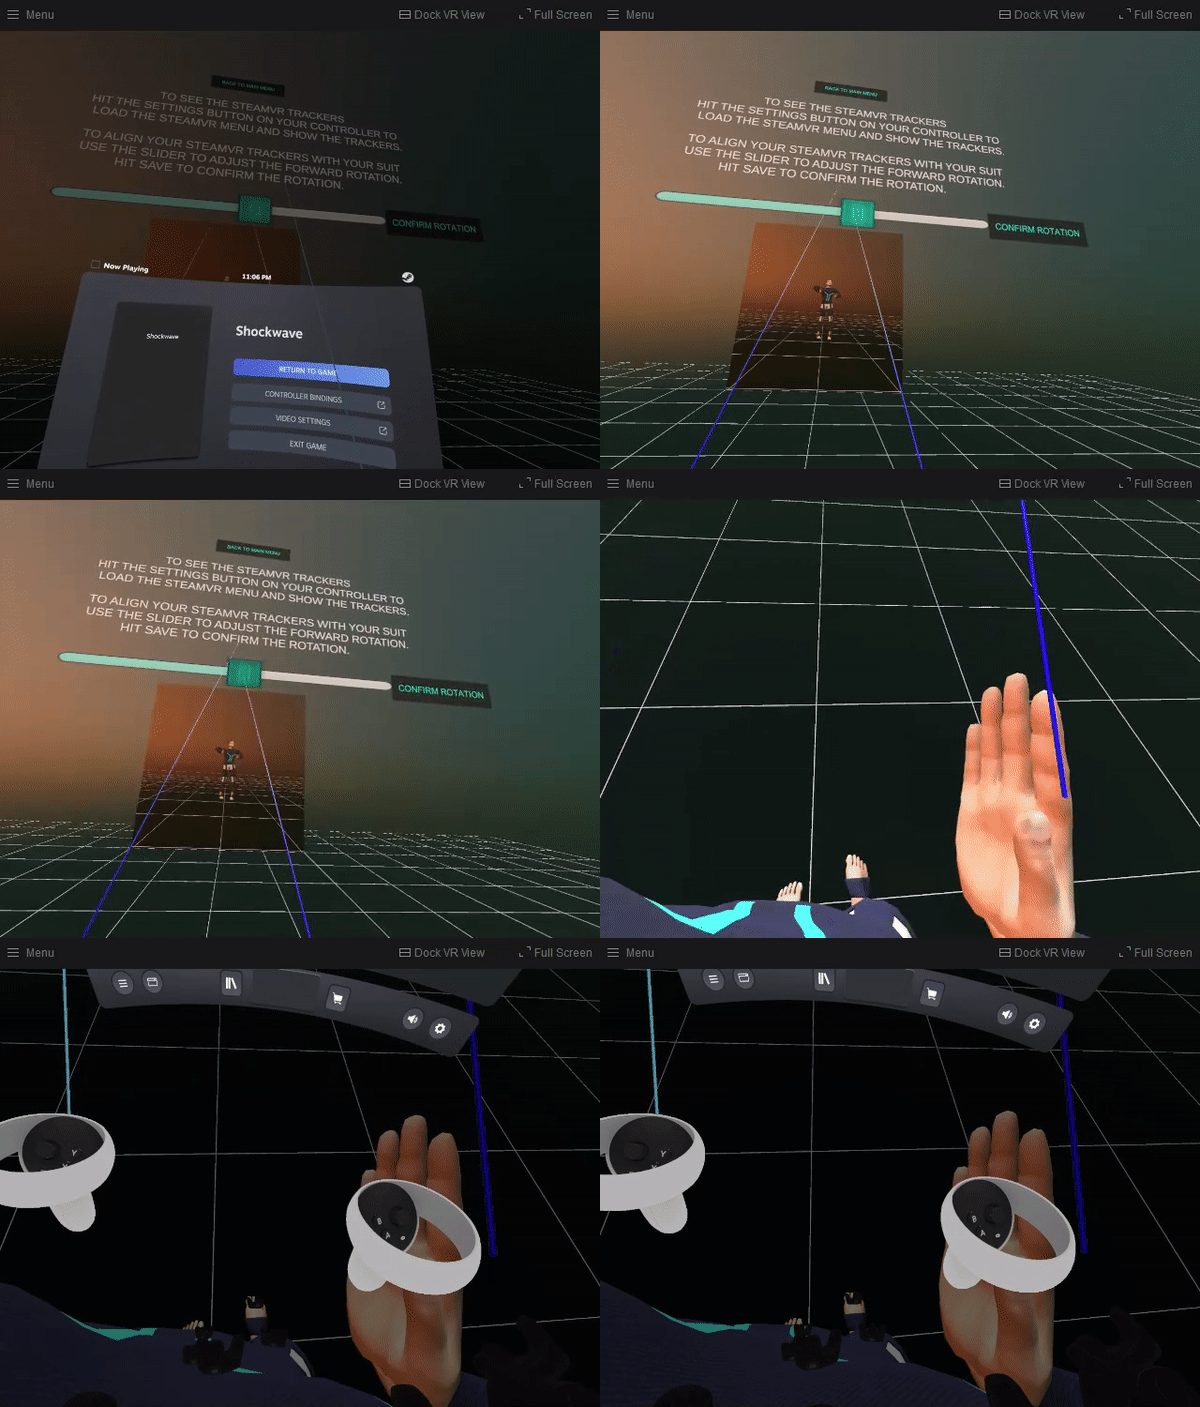
Alignment of the Trackers
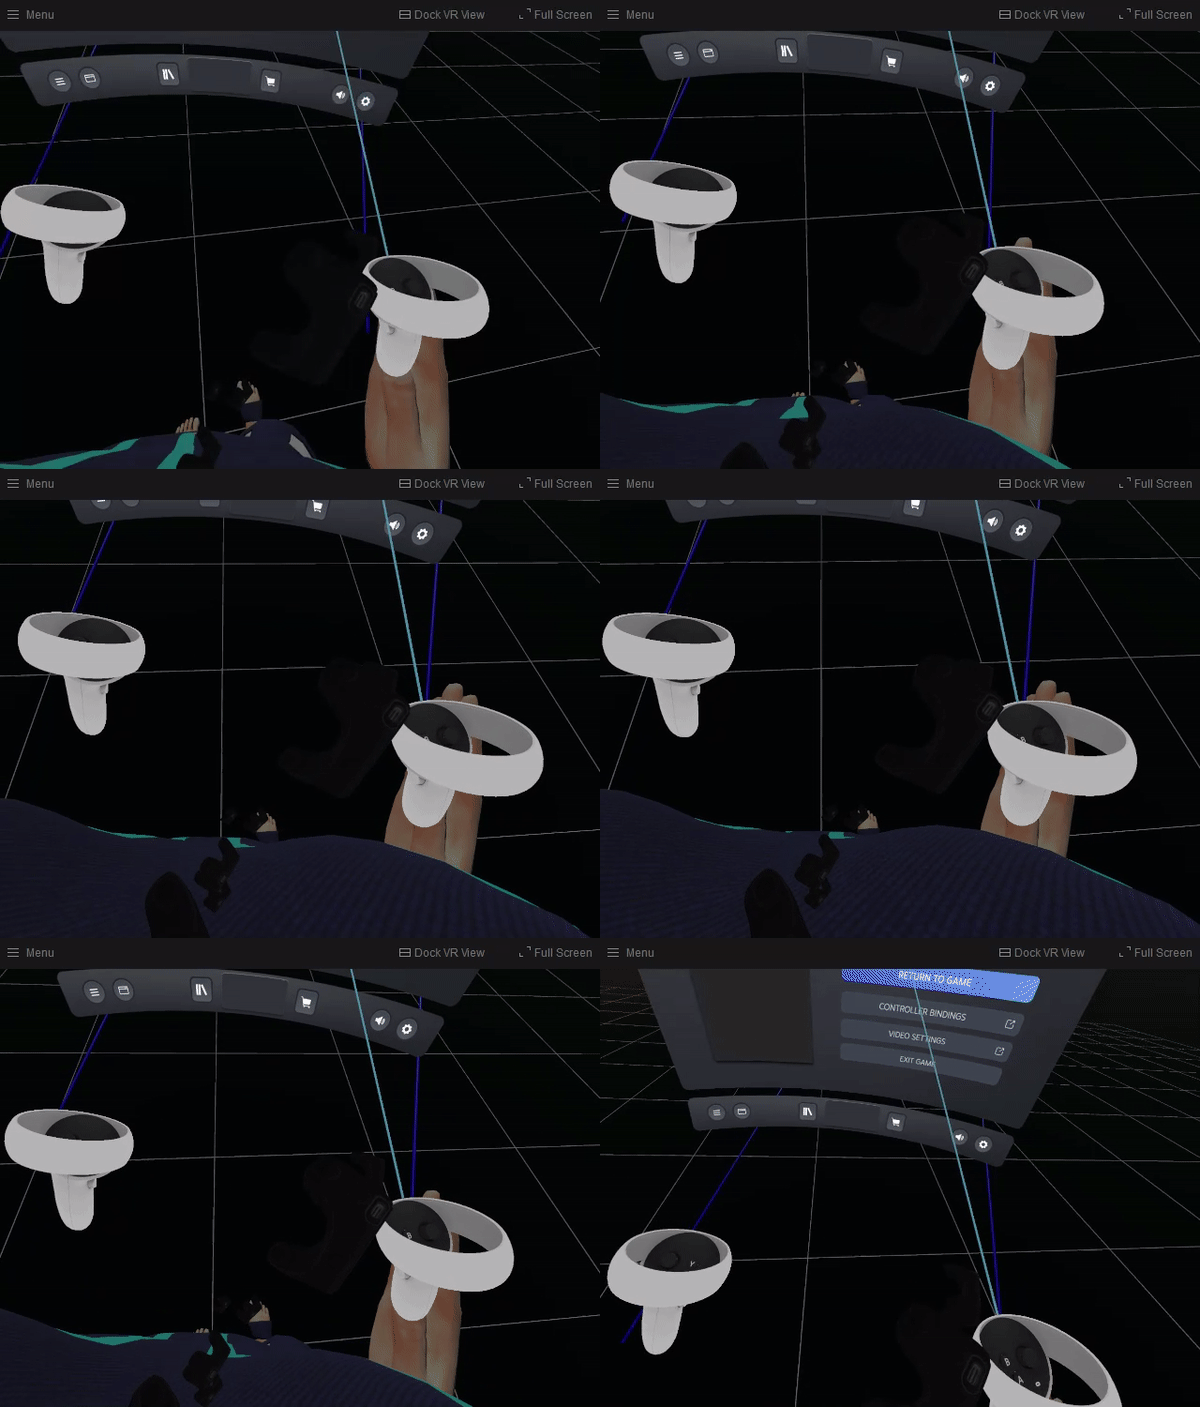
For some headsets with the a lighthouse system like Index it might be a possibility that the forward of the suit does not correspond to the forward of the headset.
This is easily noticeable in the SteamVR menu/loading application. To fix this you first have to disable the SteamVR home so that you can easily view the shockwave trackers.
The alignment can be corrected in the Calibrate SteamVR Trackers scene in the application. Follow the instructions inside the application to fix the rotation angle.
06
Haptic Demos
The shockwave application also features some demos to showcase the haptic and RGB capabilities of the suit. Each of the demos are meant to utilize a different way to actuate the haptics including Rigid body collisions, Particles, Audio to haptics and combining tracking with the haptics .
